The first ever ArchBlocks Design Contest had many great submissions.
Remember to send in an entry for Janurary 2010!
The winner receives $100.00
December 2009 Winner
Jason Harris of Cordova Tennesee, is our December 2009 ArchBlocks Design Contest Winner. Jason used the add-on software to AutoCAD called "M-Color" to add the color fills and textures.

If you have any any great designs that you would to send in, just attach them to an email and send them to me at: Kevin@ArchBlocks.com
We accept any digital format, .dwg, .pdf, .jpg, etc.
Be sure to stop by the http://www.archblocks.com/ website to see the many new products being offered.
Everyone have a great New Year! ~Kevin

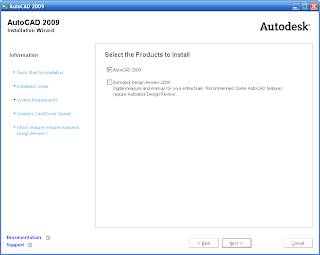
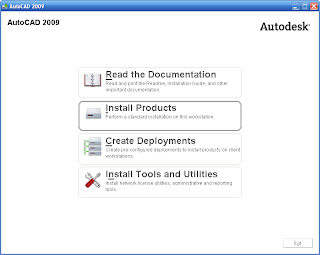 After that, you select what Products you want to install, AutoCAD 2009 was checked on by default.
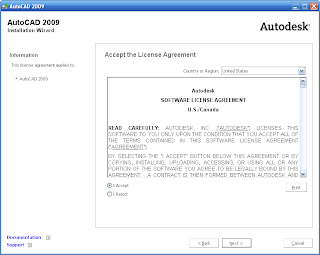
  Next you need to Accept the License Agreement.
 Next you have the option to Review, Configure, or Install. After looking over the default installation settings I noticed that the installing the Materials Library was checked off. So I selected Configure, so I could check it on .
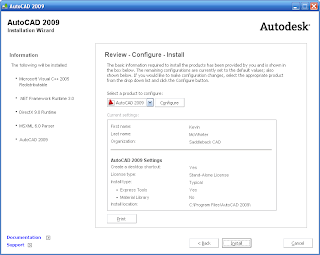 Next you select what license type you want to install, Stand Alone, or Network.
 Then you select the Installation Type, Typical is the default.
 The next dialog states that the Configuration is Complete.
 You are almost done! The Installtion Wizard now installs everything.
 After a few minutes the Installation Complete dialog appears.
 Once you pick Finish, you can choose to Restart your computer now, or later. The installation Wizard places this shortcut on the Desktop.
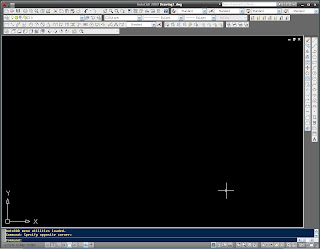
 Doubleclick the shortcut and your new AutoCAD 2009 comes to life. You will be asked if you want to migrate your settings from your older versions of AutoCAD that are on your computer. You are then asked if you would like to register now or later. I decided to register right then and it took less than a minute.